
使用 CloudFlare CDN 后获取 Real IP
概述
在使用CloudFlare CDN以后,服务器直接获取Remote IP会得到CloudFlare回源节点的IP,使得我们无法获取用户IP。本文章会教你使用一些方法以获取标头中的正确Remote IP。
资源
CloudFlare IP列表
其他CDN的配置与本文差别不大,您可以参照以下文章获取节点IP
Apache 2.4
依赖
确保安装以下内容:
- apache2-dev / httpd-devel
- libtool
- git
# Red Hat/Fedora
sudo yum install httpd-devel libtool git

# Debian/Ubuntu
sudo apt-get install apache2-dev libtool git
克隆模块
git clone https://github.com/cloudflare/mod_cloudflare.git && cd mod_cloudflare
使用 Apache 扩展工具将 .c 文件转换为模块
apxs -a -i -c mod_cloudflare.
重启并验证模块是否处于活动状态
# Red Hat/Fedora
service httpd restart; httpd -Mgrep cloudflare

# Debian/Ubuntu
sudo apachectl restart; apache2ctl -Mgrep cloudflare
Nginx
你需要使用 ngx_http_realip_module 模块
相关链接:http://nginx.org/en/docs/http/ngx_http_realip_module.html
在 nginx配置文件 中加入以下内容
set_real_ip_from 173.245.48.0/20;
set_real_ip_from 103.21.244.0/22;
set_real_ip_from 103.22.200.0/22;
set_real_ip_from 103.31.4.0/22;
set_real_ip_from 141.101.64.0/18;
set_real_ip_from 108.162.192.0/18;
set_real_ip_from 190.93.240.0/20;
set_real_ip_from 188.114.96.0/20;
set_real_ip_from 197.234.240.0/22;
set_real_ip_from 198.41.128.0/17;
set_real_ip_from 162.158.0.0/15;
set_real_ip_from 104.16.0.0/13;
set_real_ip_from 104.24.0.0/14;
set_real_ip_from 172.64.0.0/13;
set_real_ip_from 131.0.72.0/22;
set_real_ip_from 2400:cb00::/32;
set_real_ip_from 2606:4700::/32;
set_real_ip_from 2803:f800::/32;
set_real_ip_from 2405:b500::/32;
set_real_ip_from 2405:8100::/32;
set_real_ip_from 2a06:98c0::/29;
set_real_ip_from 2c0f:f248::/32;
real_ip_header CF-Connecting-IP;
# real_ip_header X-Forwarded-For;
该前缀列表需要定期更新,详见 https://www.cloudflare.com/ips
要在您的日志中包含原始访问者 IP,请将变量 $http_cf_connecting_ip 和 $http_x_forwarded_for 添加到 log_format 指令中
另请参阅:Cloudflare 和 Nginx
EasyApache + cPanel
运行以下脚本,将 mod_cloudflare 安装为 EasyApache 的一部分
bash (curl -s https://raw.githubusercontent.com/cloudflare/mod_cloudflare/master/EasyApache/installer.sh)
LiteSpeed
- 前往 LiteSpeed Web 管理员控制台
- 在
Configuration中,启用Use Client IP in Header选项 - 启用之后,您的访问日志就会显示正确的 IP 地址,甚至 PHP 的
$_SERVER['REMOTE_ADDR']变量也会包含客户端的实际 IP 地址,而非 Cloudflare IP 地址,其本身就能解决您在支持 PHP 的网站(如 WordPress 或 vBulletin 安装)上启用 Cloudflare 时遇到的大多数问题
IIS
IIS 7-8: https://support.cloudflare.com/hc/en-us/articles/200170786
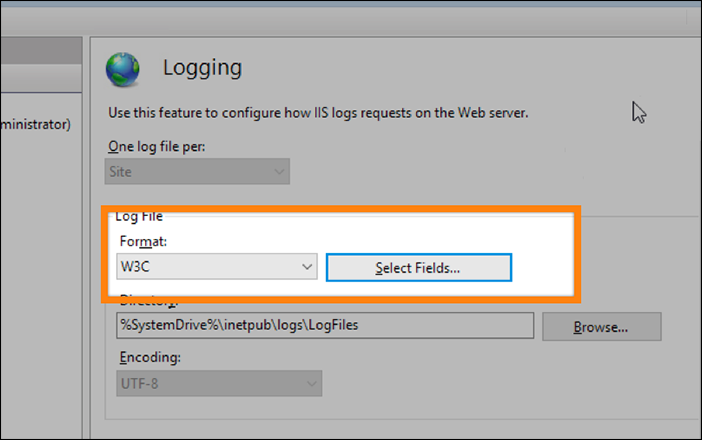
在 IIS Manager 中,双击您操作的站点的 Actions 菜单中的 Logging
启动后,选择 W3C 作为格式,再单击 Log File 子部分中格式下拉列表旁边的 Select Fields
单击 Add Field,再添加 CF-Connecting-IP 标头
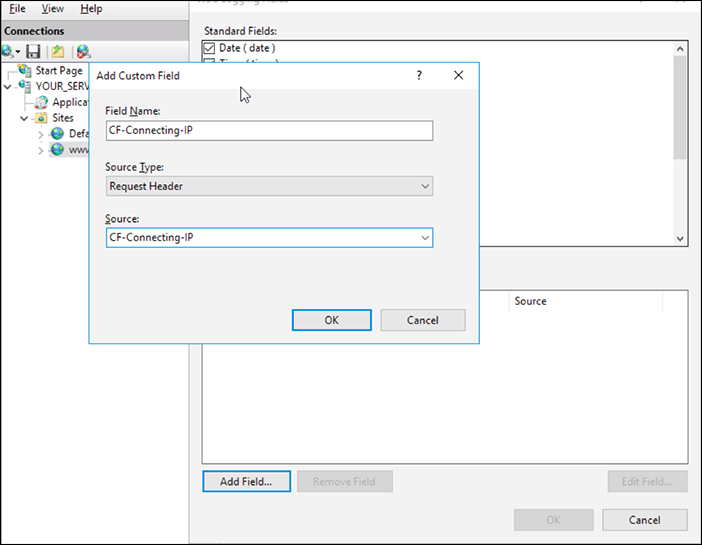
单击 Ok
您应该看到 Custom Fields 中反映出您的新条目
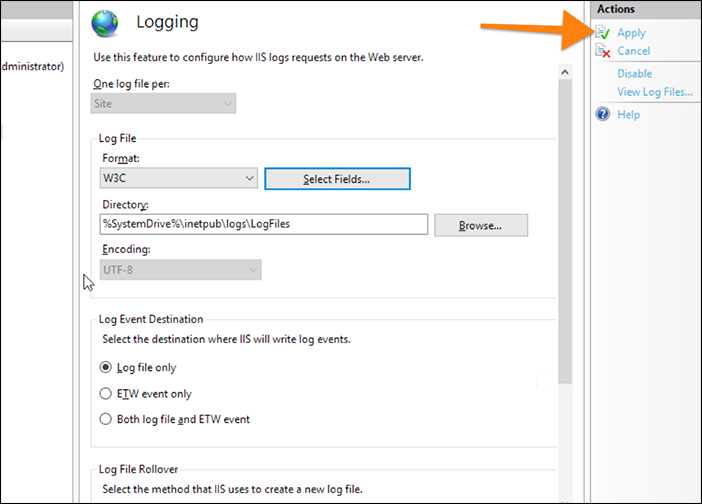
返回到 Logging 窗口后,单击 Apply
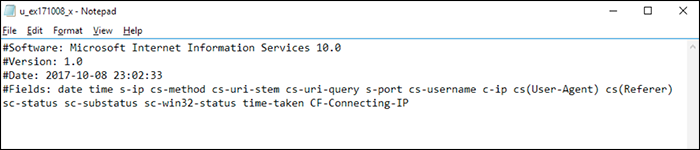
如果这能成功,日志文件现在应该会有下划线
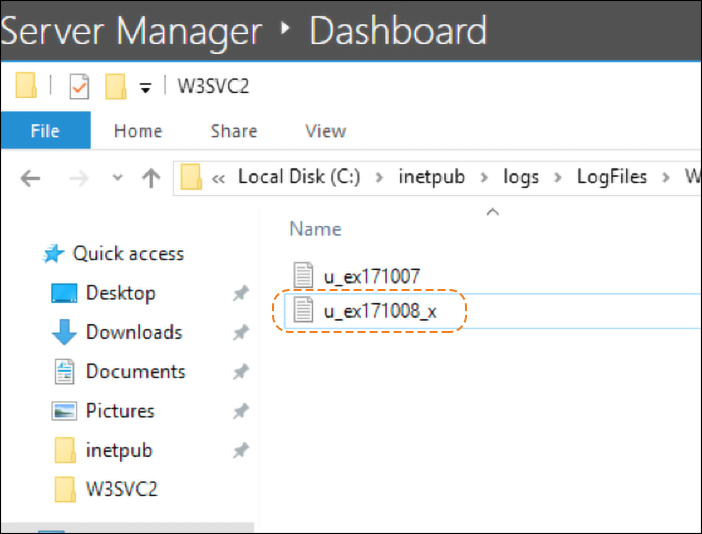
您应该也会看到字段中的变化
重启站点,再重启 W3SVC
如果更改没有立即生效,则重启整个实例